You’re a dedicated physician. You read, stay up-to-date with the latest guidelines, and work to get better with every patient encounter.
While there was a robust, guided quality improvement process during your training, now you’re on your own. That doesn’t mean your own quality improvement has to stop – that’s why we created myQI.
We all make mistakes and with myQI you might be able to learn more about what’s happening and why.
How it Works
We’ve designed myQI to be as easy to use as possible. Once you’ve set up the application on your device, start entering cases as they arise. Including more detail helps the app build more complete reports for you. With myQI’s reports, you may be able to identify trends and biases to help you get better.

Getting Started
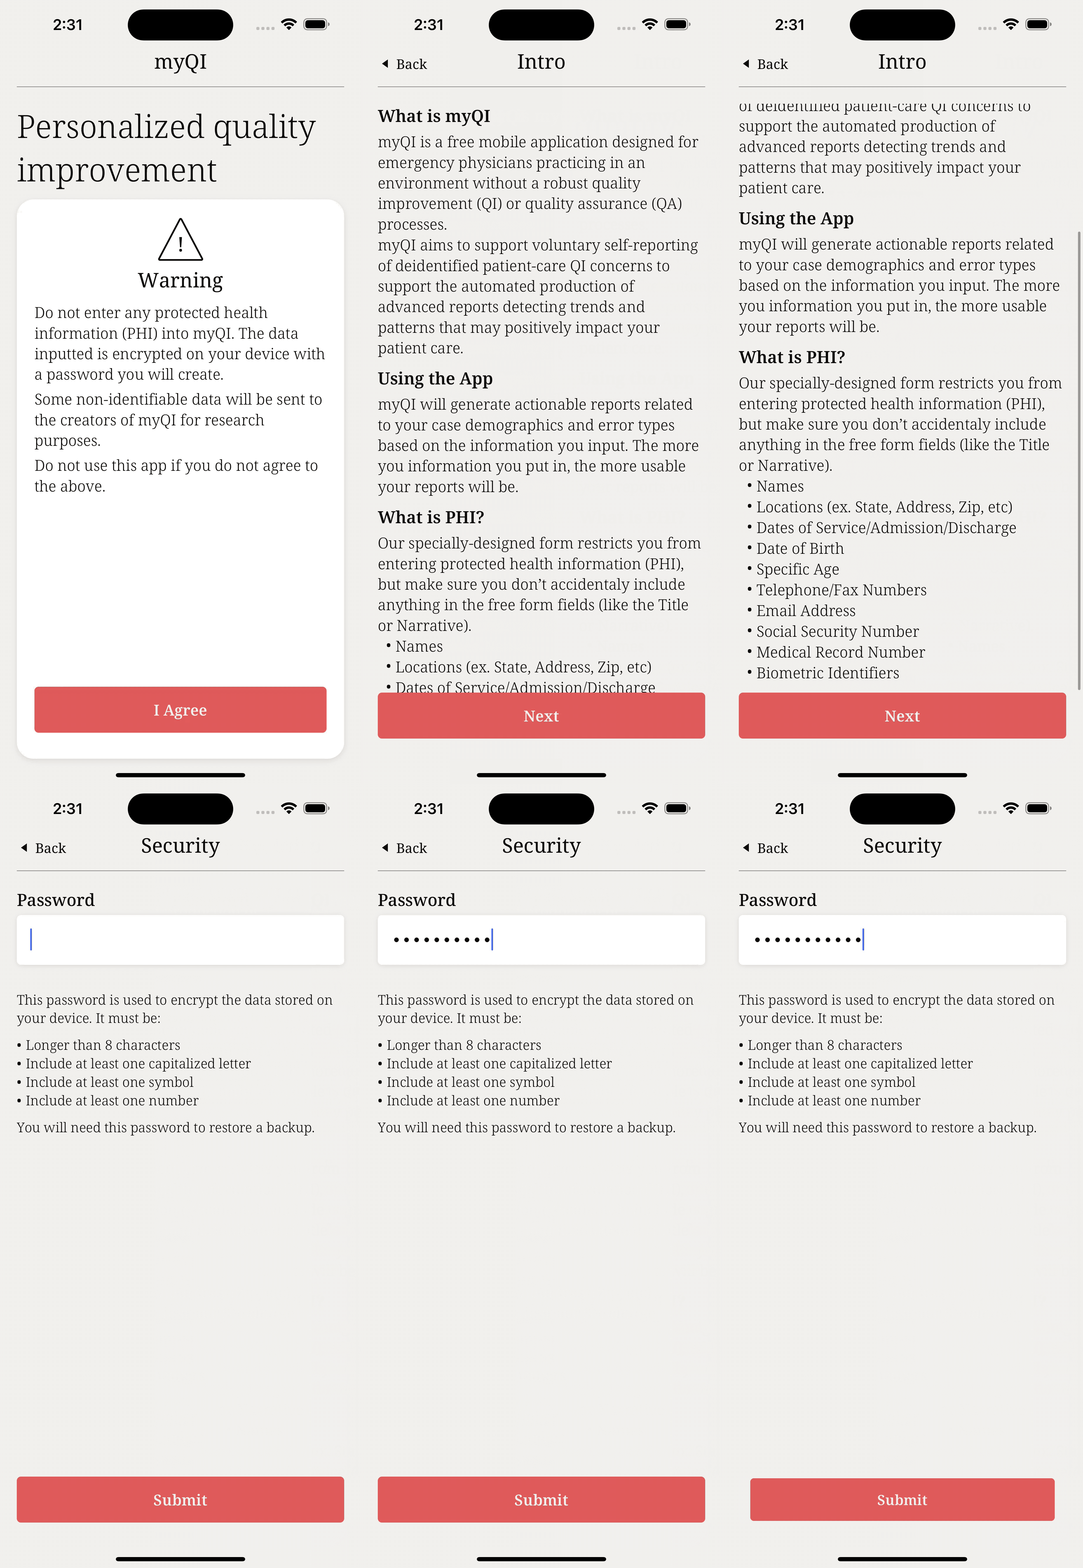
We start by getting your application set up. Please take some time to read the notices. Make sure you understand what kind of information myQI will ask for.
If you’re not sure what Protected Health Information (PHI) is, there is a list of examples.
Once you’ve read the introduction, you’ll need to set up the password that will be used to encrypt the database on your device. Create a strong password that meets the listed requirements. Store your password in a secure location (like a password manager). You won’t need to authenticate when you use myQI but you will need it if you want to restore from a backup at some point.

Take a Tour
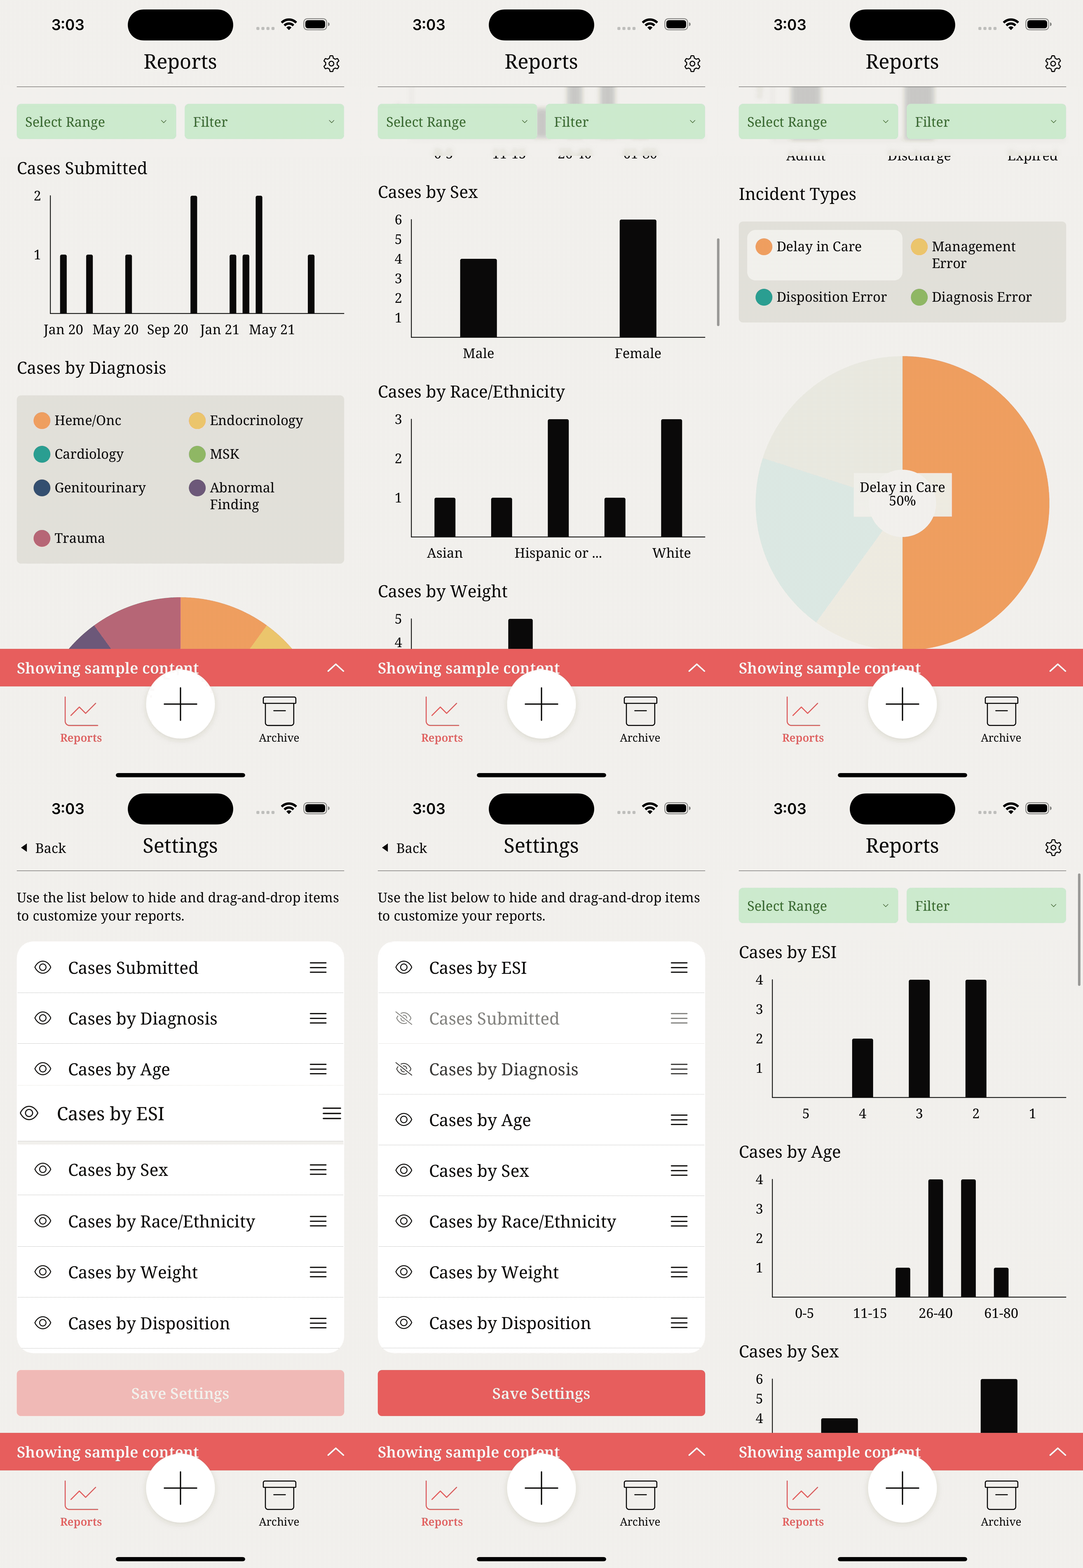
We created a database of sample cases to help you see what your reports might look like once you’ve entered your own cases.
The Reports screen shows charts based on some of the supplemental information you’ll include about your cases including demographics and presentation details. You’ll also see reports about the types of incidents and contributing factors you’ve identified.
You can filter your reports by time periods (ex. “Last 30 days”) and categories. You can further customize your Reports by selecting the Settings icon where you can sort and show/hide specific reports.

Case Archive
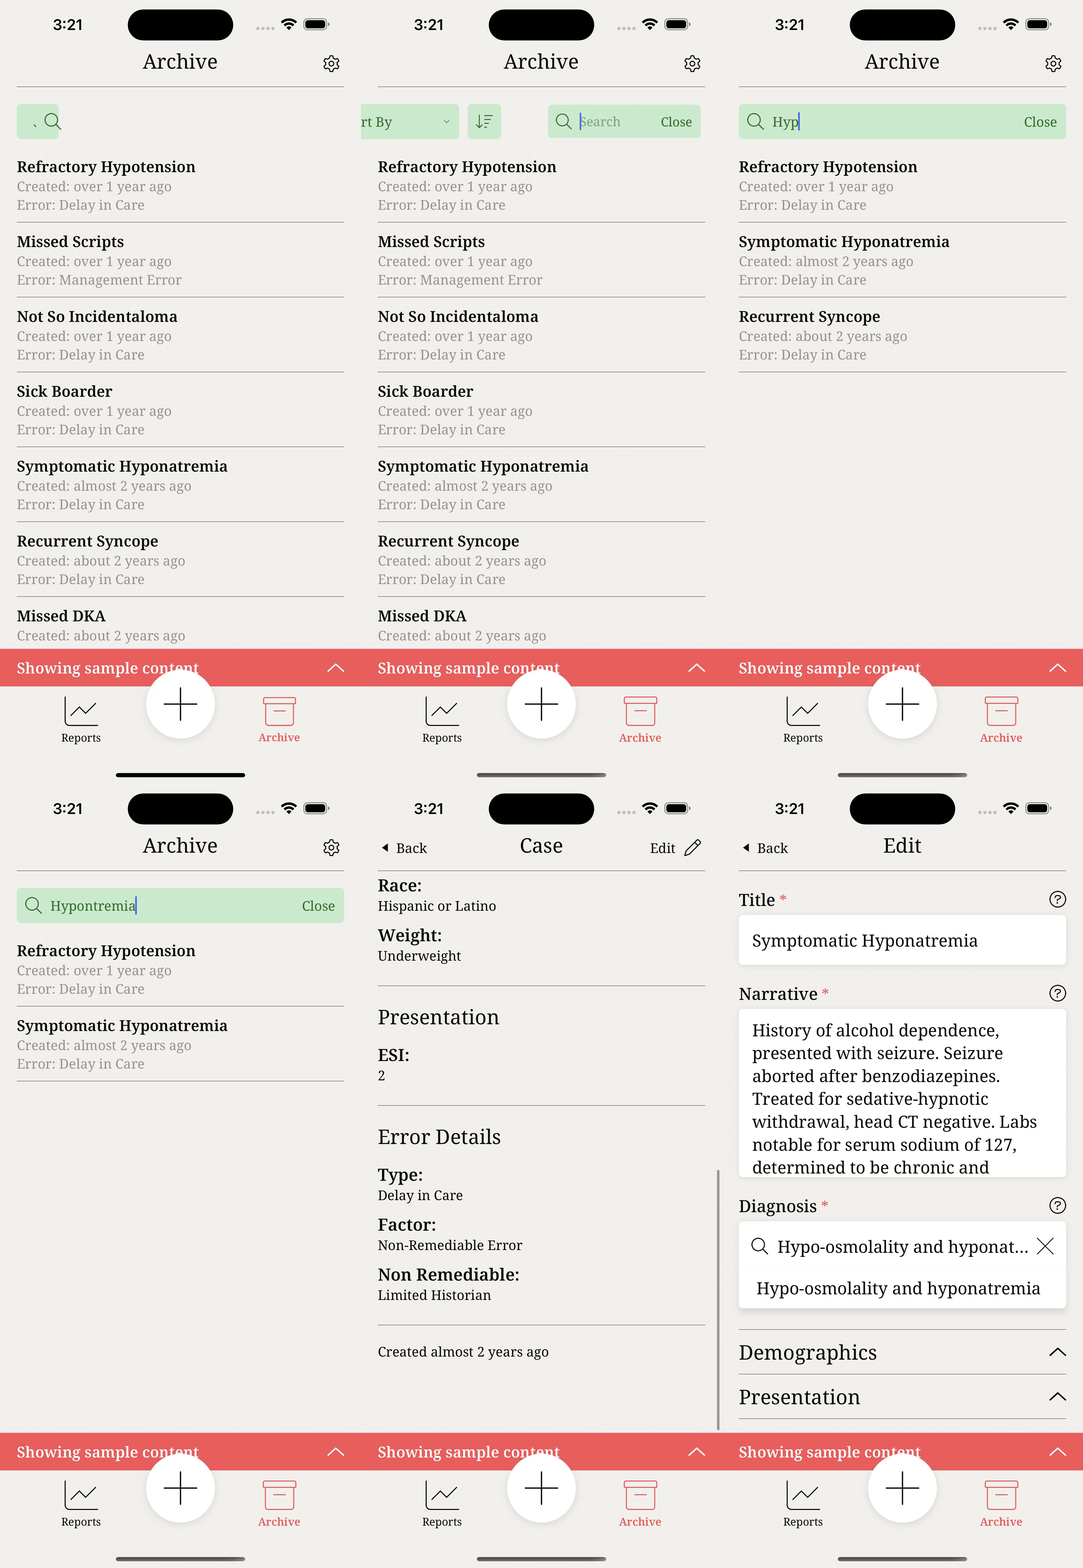
Each case is added to your archive. You can organize cases by the date they were created, alphabetically by title, or by the age range entered. You can also toggle the sort order (ascending or descending). Finally, you can use the smart search feature to find a case you had in mind.
Select a case to view all of the related details you’d entered. Select the Edit button to make changes.
Any adjustments you make are automatically reflected in your Reports.

Create a Case
Try creating a new case by selecting the “+” icon. If you see a question mark next to a field, you can tap it to get more information about the field and what to enter.
We want to make adding cases as easy as possible so only a few fields are required. However, the more detail you enter the more comprehensive and useful your reports will be.

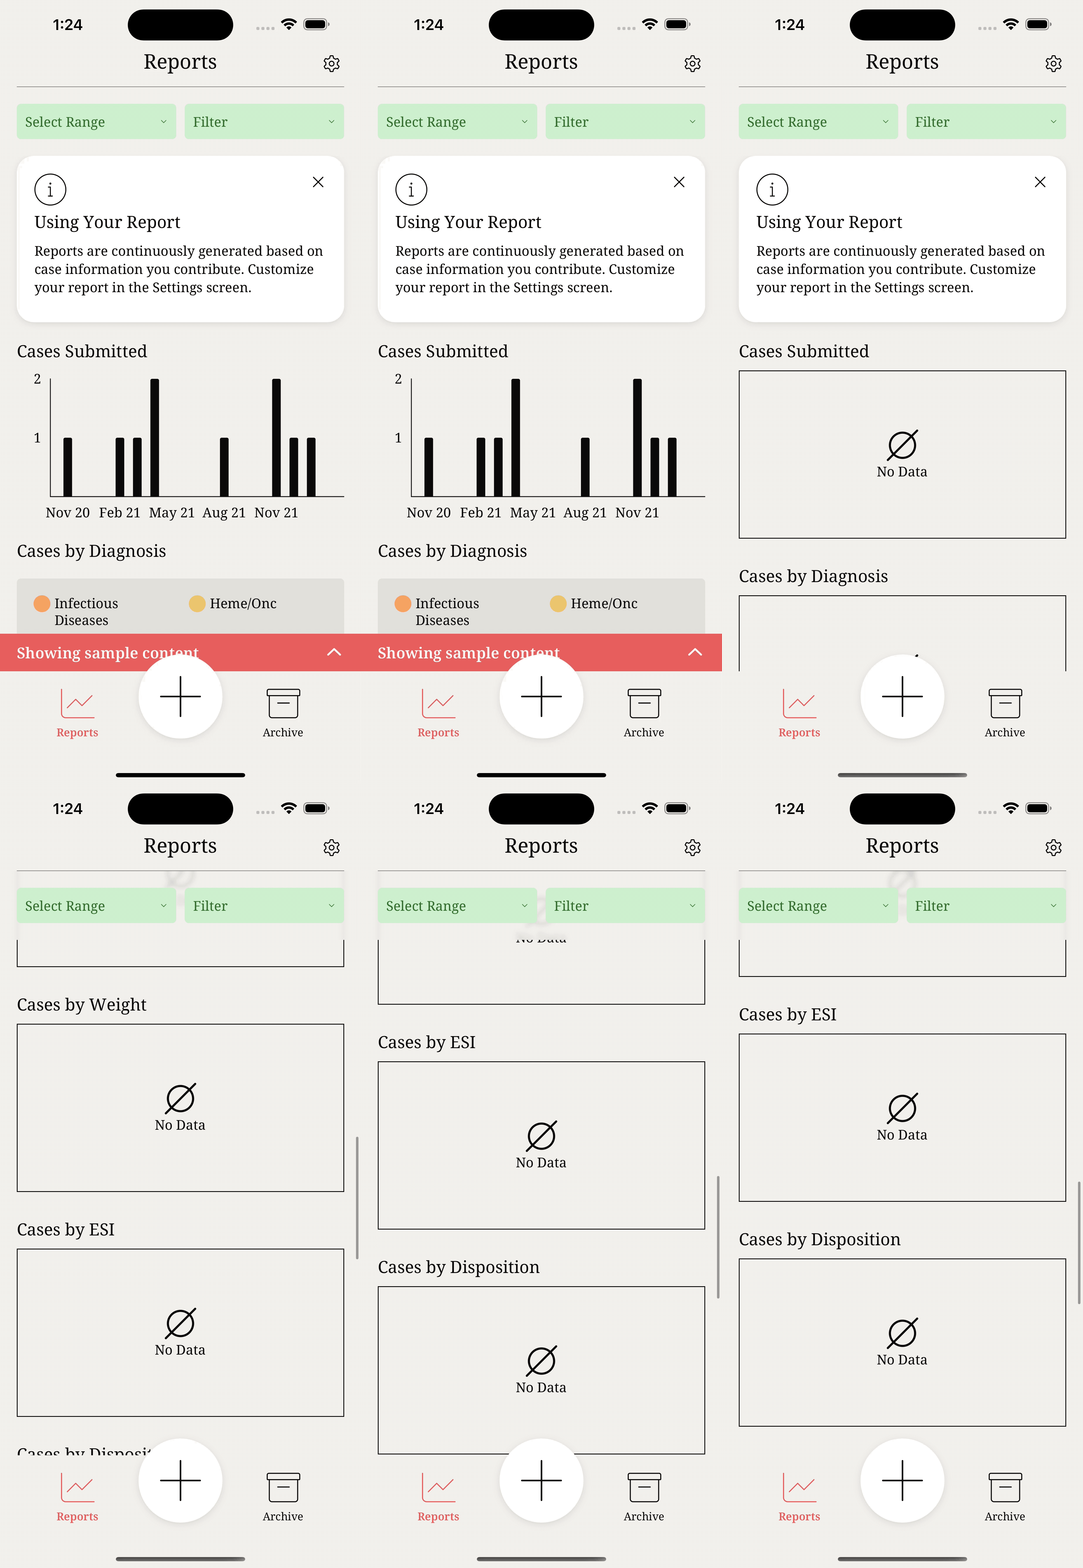
Start Fresh
That’s all there is to it! When you’ve finished touring the application, delete the sample content and start your own database